How to Properly Pack a Cooler with Game Meat

After an arduous and challenging hunt, with a little luck, you’ll be rewarded with some of the best quality meat available that you simply can’t get at the grocery store. You’ve worked hard to harvest a wild animal, so don’t get lazy now and neglect to properly take care of your game meat in the field.
Proper care of game meat after harvest is the single most important thing you can do to maintain the quality and freshness of the meat. Many people who complain of wild game having an off-putting flavor (often referred to as “gamey”) is the result of eating meat that wasn’t properly cared for and cooled down in the field.
One of the easiest and most foolproof ways to keep your game meat fresh until you get home is with a high-quality cooler and plenty of ice. When game meat is properly packed in a cooler, it can be kept fresh for days before you’ll need to finish the butchering process and freeze or immediately consume it.
Here are a few steps and tips for how to properly pack a cooler with game meat. We’ll go over why having a quality cooler is important, as well as other considerations so you can ensure the quality of the meat remains exceptional.
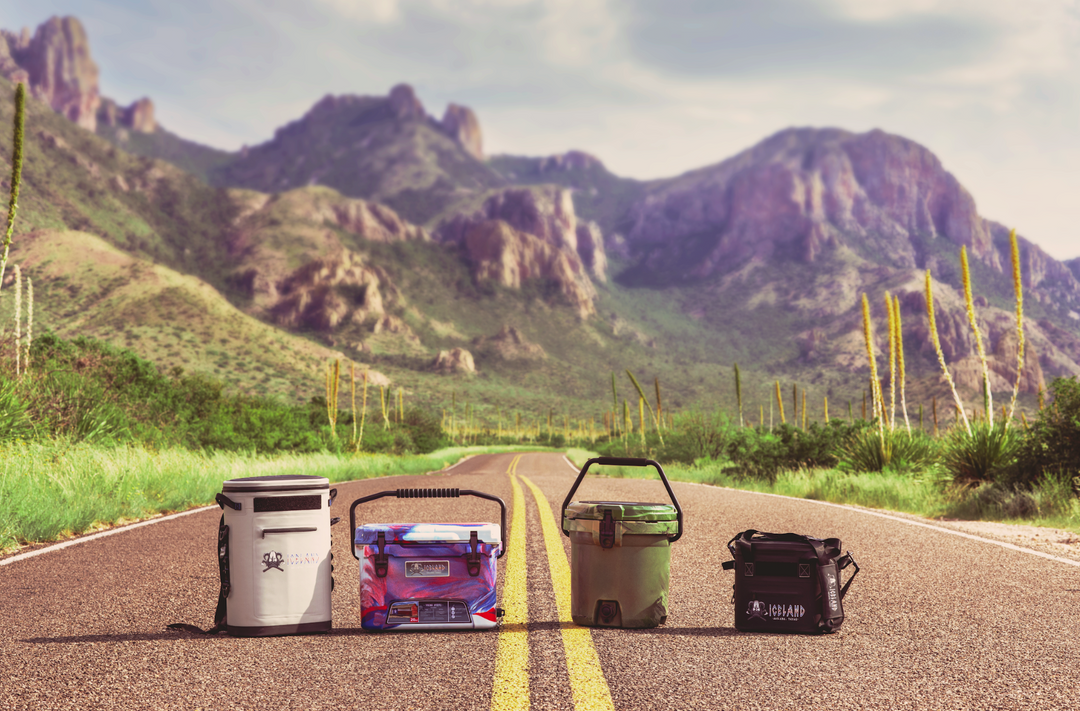
Start With a Quality Cooler
First and foremost, a high-quality cooler with thick insulated walls and tight seals will hold ice longer and reduce the amount of excess water from ice melting. A good cooler is an investment, but when transporting game meat from the field, especially for backcountry hunts when you may be far from home, it will be worth its weight in gold.
You’ll also want to make sure your cooler is big enough to hold your bounty of meat. A small cooler, like our 45 qt, may be sufficient for small game such as game birds and rabbits, but you’ll need a larger cooler, like our 110 qt cooler with wheels, for big game species such as deer and elk. To be on the safe side for big game animals, multiple coolers are a good idea.
Iceland Coolers feature thick, high-density foam and strong seals among many other features. With a variety of options and sizes, you can be sure to find an Iceland Cooler you’ll love that will hold ice as long as it takes for you to get home and start the butchering process.
Break Down and Trim Meat
The first step in packing a cooler with meat is to skin and break down the animal into more manageable pieces. This will allow you to fit as much as possible into your cooler. This will also save you time later when you butcher the meat into different cuts.
After breaking down the animal, make sure to remove any excess fat and tissue that you don’t plan to consume. Not doing this step may cause your meat to spoil quickly. In addition, remove any dirt, hair, or other debris from the meat, which will help keep everything clean and save you time later.
Wrap Meat in a Durable Plastic
Placing your meat directly on ice will keep it from spoiling but will seriously degrade the quality of the meat and make butchering more difficult. That’s why it's crucial to wrap game meat in a durable plastic such as large unscented black garbage bags so excess water doesn’t soak it and degrade the quality of your hard-earned meat.
It’s also important to make sure the meat is cooled down before wrapping it in plastic in the first place. If you were to wrap meat too soon after harvesting an animal, the residual body heat will quickly spoil the meat and ruin it entirely.
After skinning an animal, allow it to cool down by hanging it and letting it cool in the open air. Since most hunting seasons take place in cooler weather, this step shouldn’t take long. Once the meat is relatively cooled down, wrap it in the plastic tightly and tie or tape up the opening for a watertight seal.
Add Ice as Soon as Possible
You may not have ice immediately available, especially for remote backcountry hunts. In that case, it may be worthwhile to already have your cooler packed with ice, or at the very least drive to a convenience store to get ice as soon as possible after harvesting an animal.
Once you’re ready to pack your cooler with meat and ice, start with a thin layer of ice at the bottom, then the meat, then as much ice as you can fit on top. Ideally, you’ll want the meat to be fully encompassed by the ice, which is why broken-up ice is recommended instead of large blocks.
Drain Excess Water and Add Ice Every 6-8 Hours
If you have a long travel time between your hunting area and home, it may be worthwhile to check your cooler and drain excess water or replenish ice every 6-8 hours. This will ensure the meat is staying as cold as possible and it isn’t getting too soaked in case there are any holes in the plastic. Usually, water is not a bad thing to leave in your cooler, as it is a better insulator than air, but in this case, it is more important to make sure no meat comes in contact with it!
The thicker insulation your cooler has, the less often you’ll need to do this step, if at all. At the very least, undo the drain plug to let out any water from melted ice every so often.
Conclusion
Packing a cooler with game meat is not rocket science and only requires a small amount of effort to get right. If you follow these steps and take as much care and attention to your game meat as you did on the hunt itself, you’ll be rewarded with the best-tasting meat possible, and you won’t have to worry about “gamey” flavors.
As a closing note, the most important aspect of keeping game meat fresh for an extended period after a hunt is having a trustworthy cooler. Iceland Coolers provide exceptional insulation and will hold ice for 4-11 days depending on size and use! Set yourself up for success from the start and consider getting one of our many great options to prepare for your next hunting trip!


Leave a comment